Retro Ceramic Clocks
Recently I purchased some retro ceramic clock faces. These are are survivors from the 50's and 60's as far as I know.
Its really easy to pop a new quartz movement into these and this little blog will show you how.
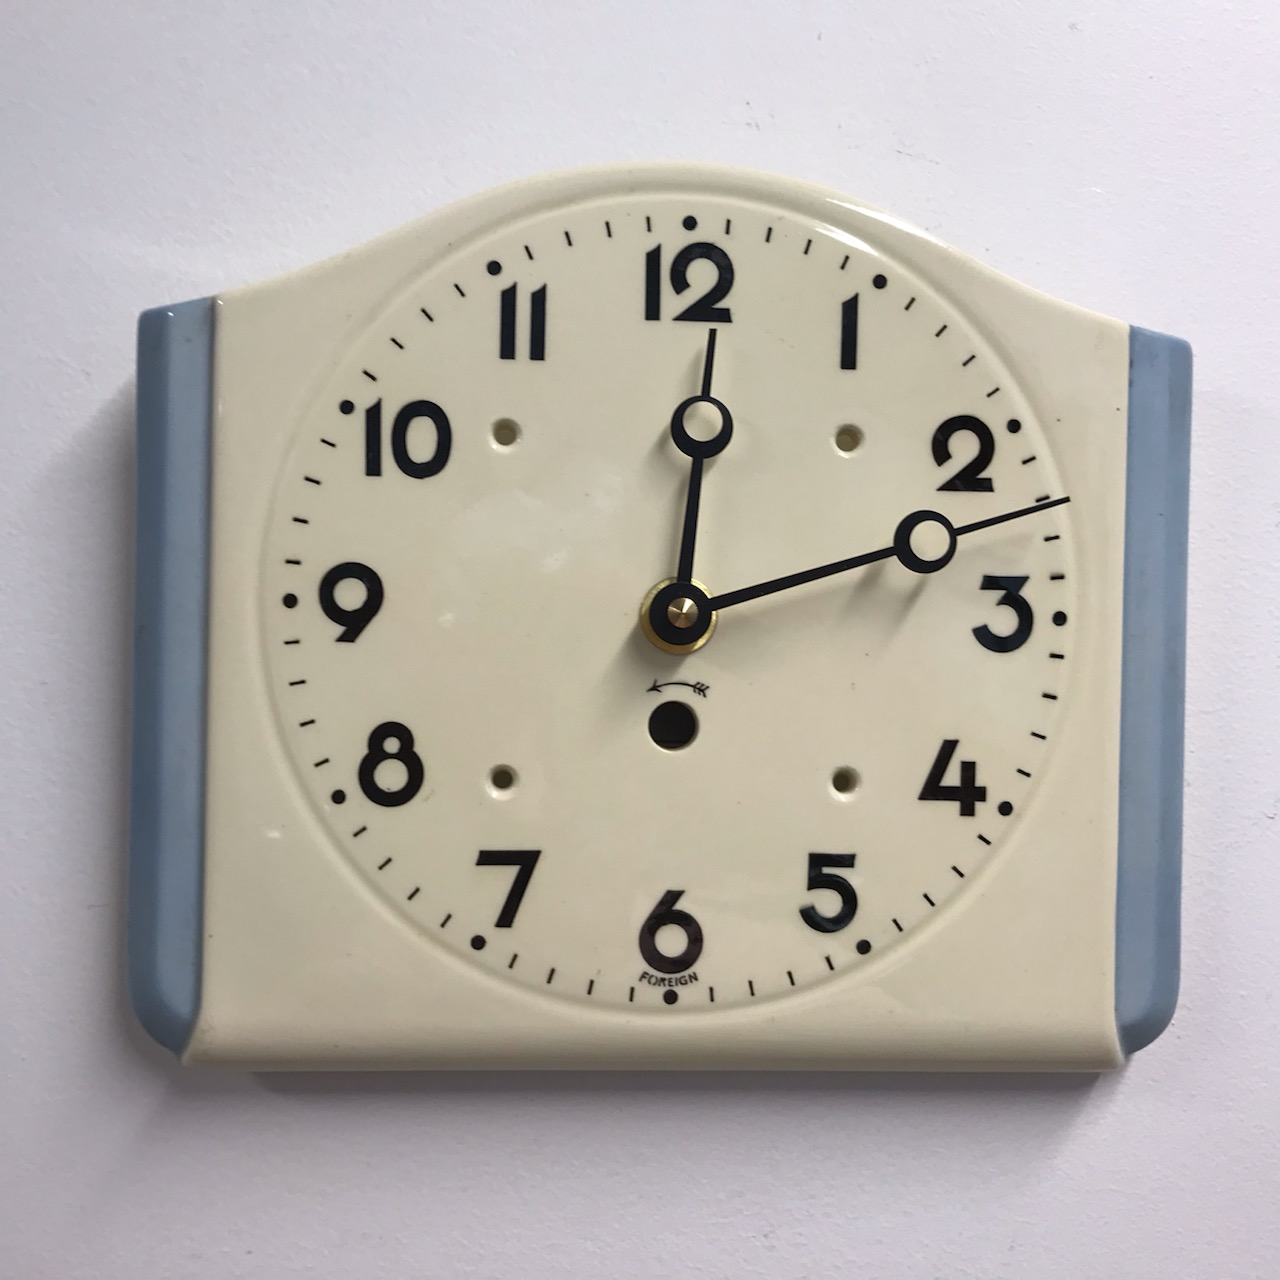
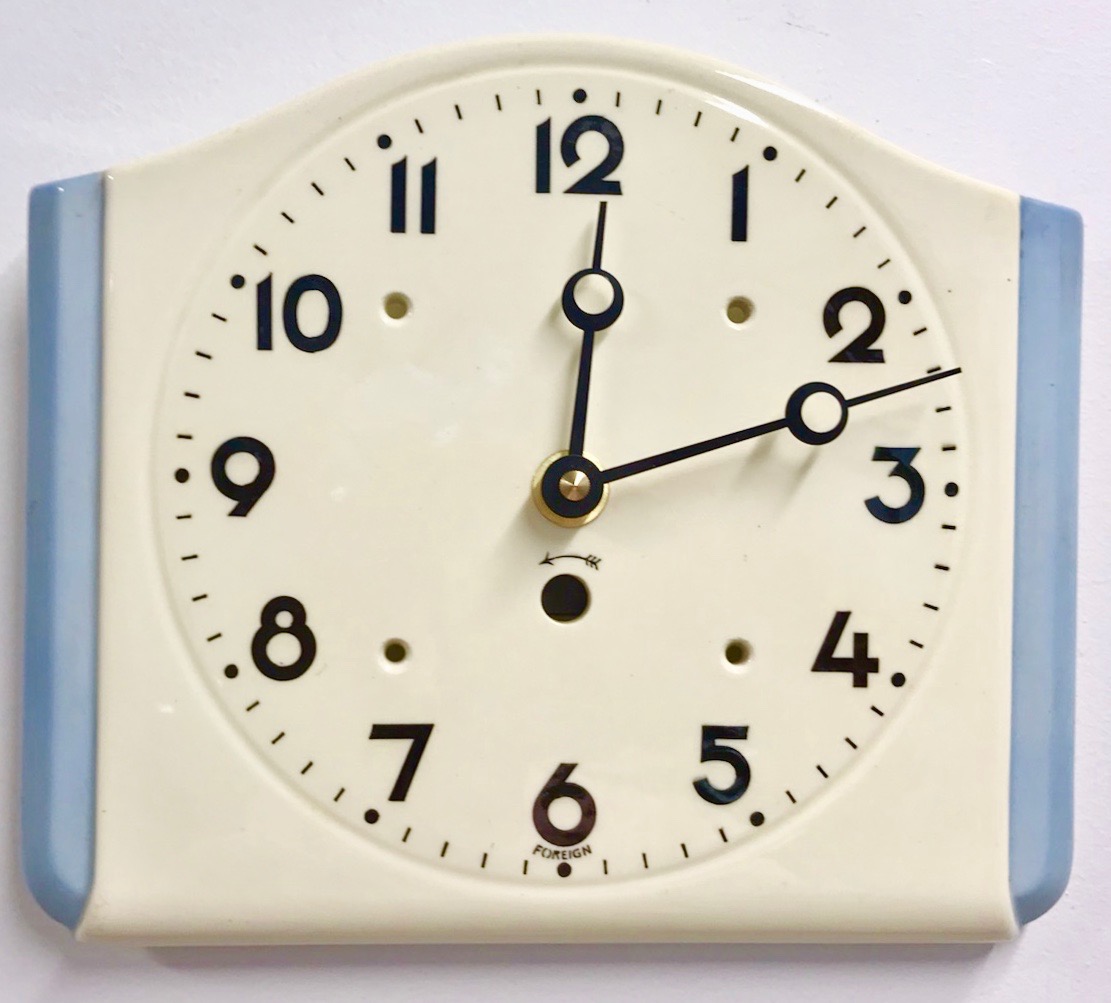
Here is the clock face. It was looking a bit grubby so I have given it a clean with my little helper called "Mr Sheen" it is readily available in supemarkets... a damp cloth & wash up liquid would also do the same job. ( best not to immerse in water).

The next task is to measure how thick face of the the clock movement is.
I like to use a set of vernier calipers...and for open faced clocks like this one usually allow an extra few mm to allow plenty of room between the hands and the face.
 .
.
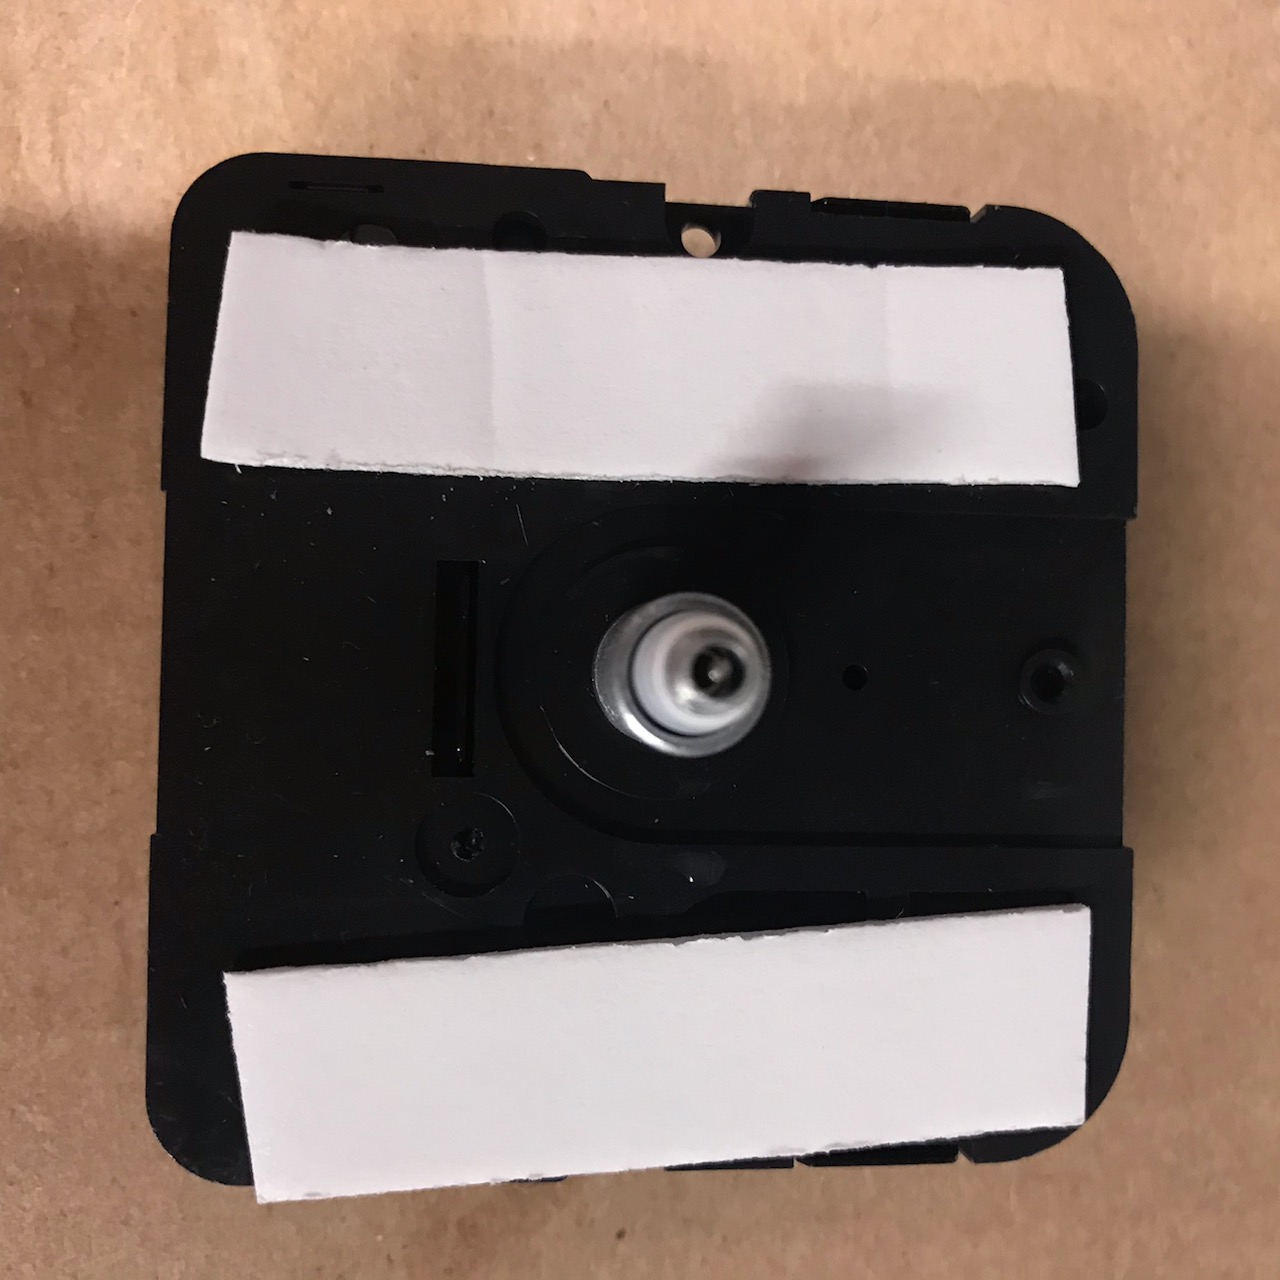
Then I choose a suitable clock movement.
I chose the 10mm dial thicknes with metal hanger.
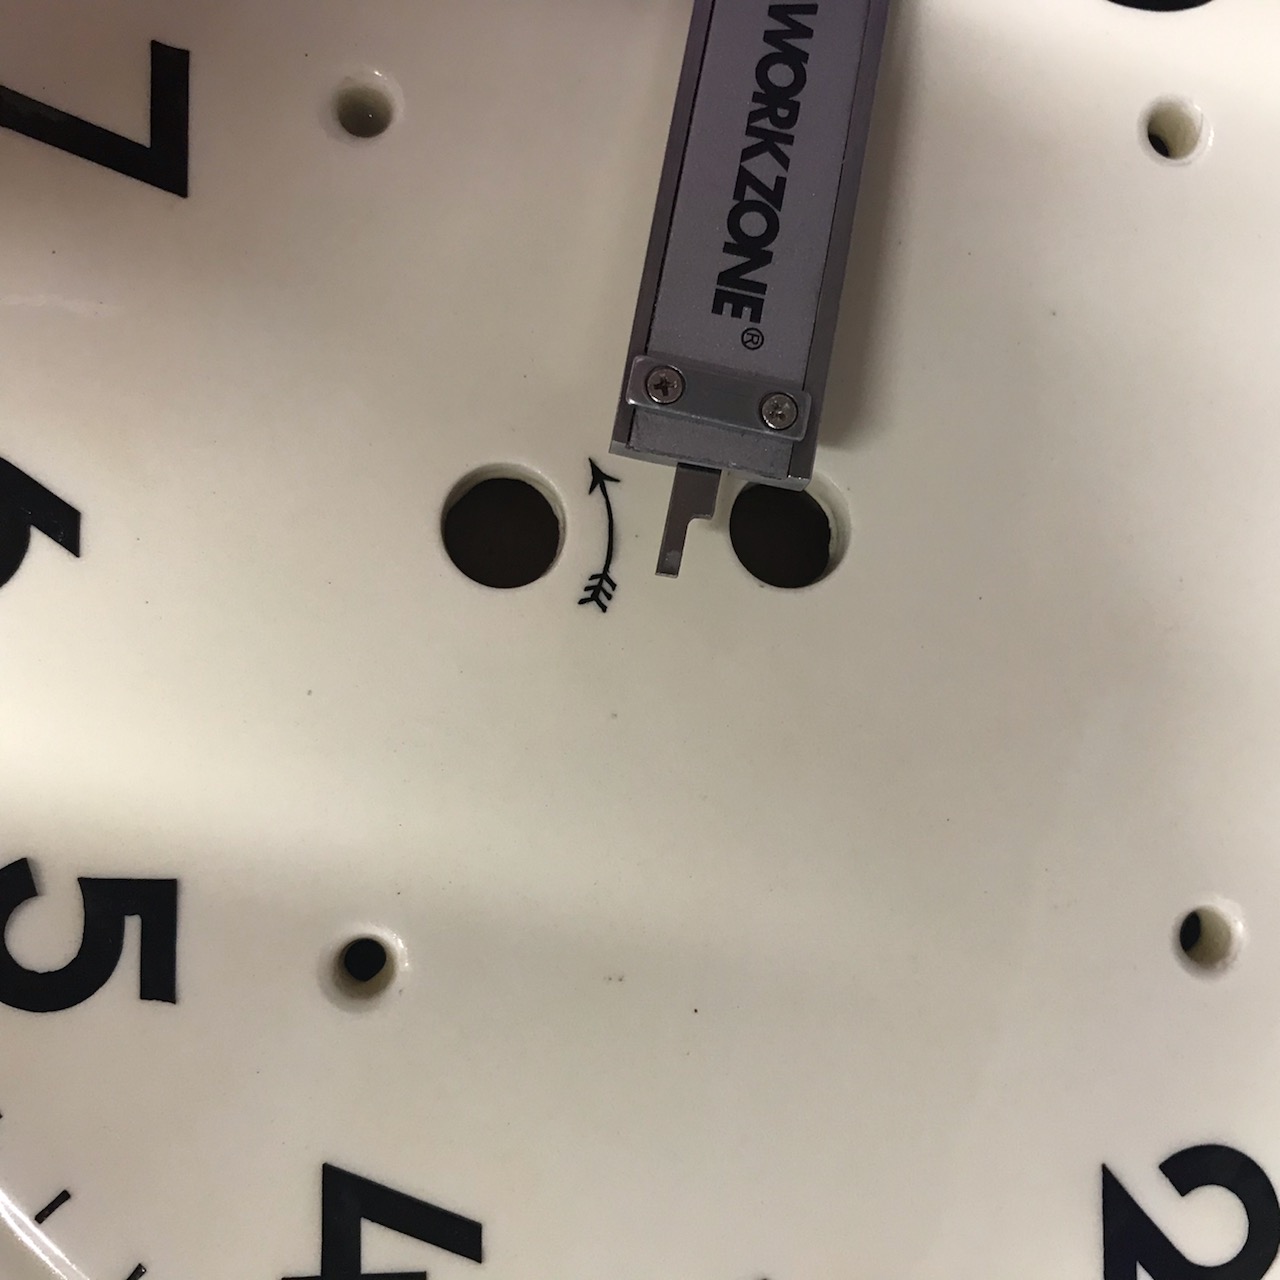
Next step is to super glue the clock hanger onto the back of the ceramic face.
Work out where the clock hanger needs to go so the clock will be hanging the right way up.
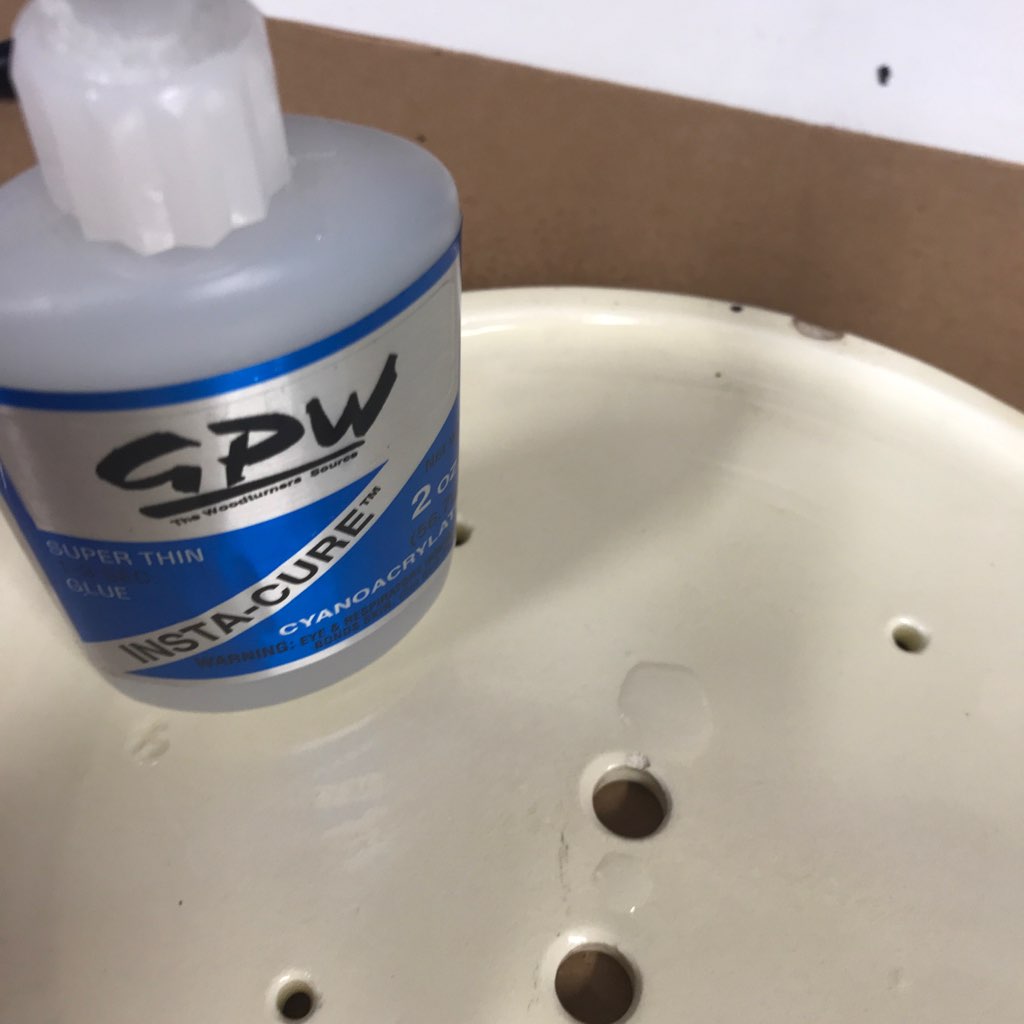
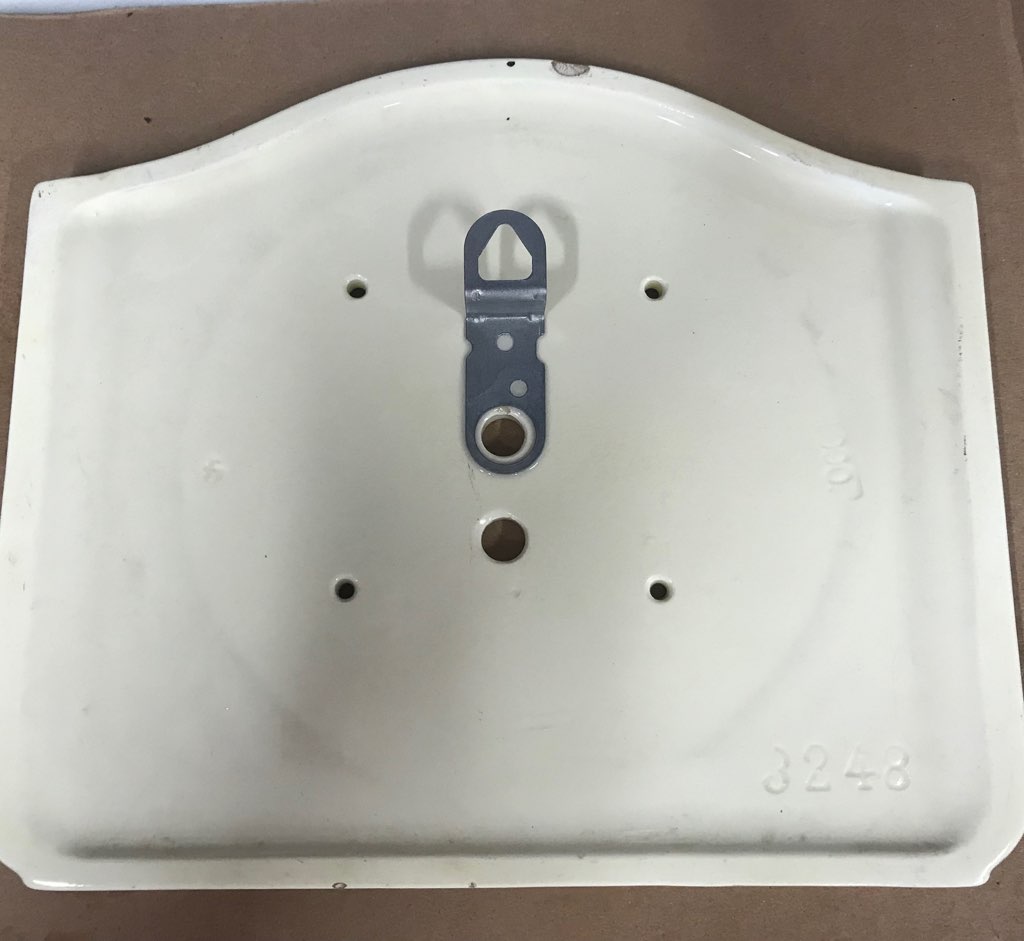
Wait for the glue to dry properly.
Attach the clock movement to the face. i like to use padded double sided tape. So that the clock movement holds firmly to the clock.
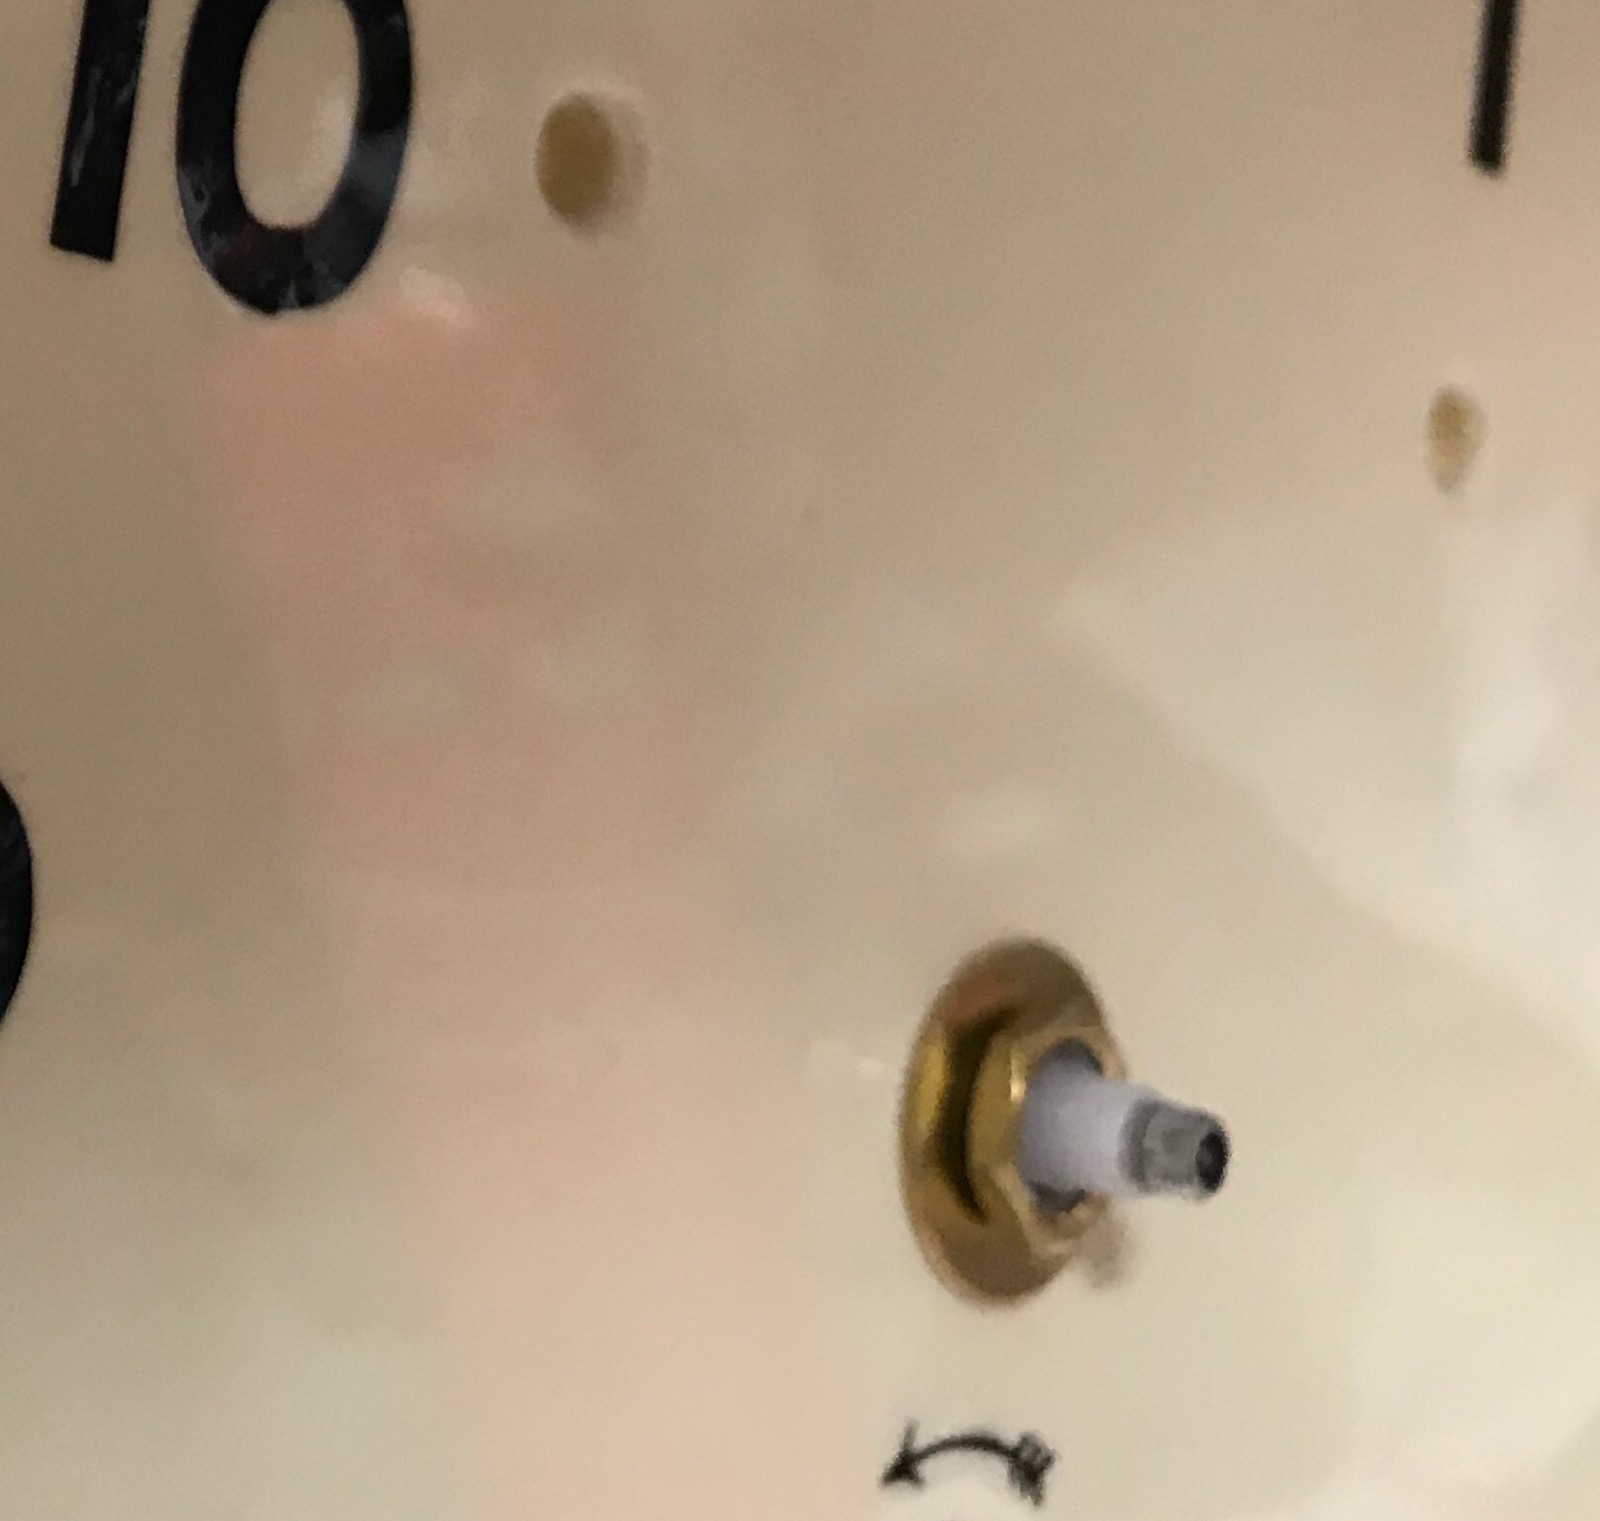
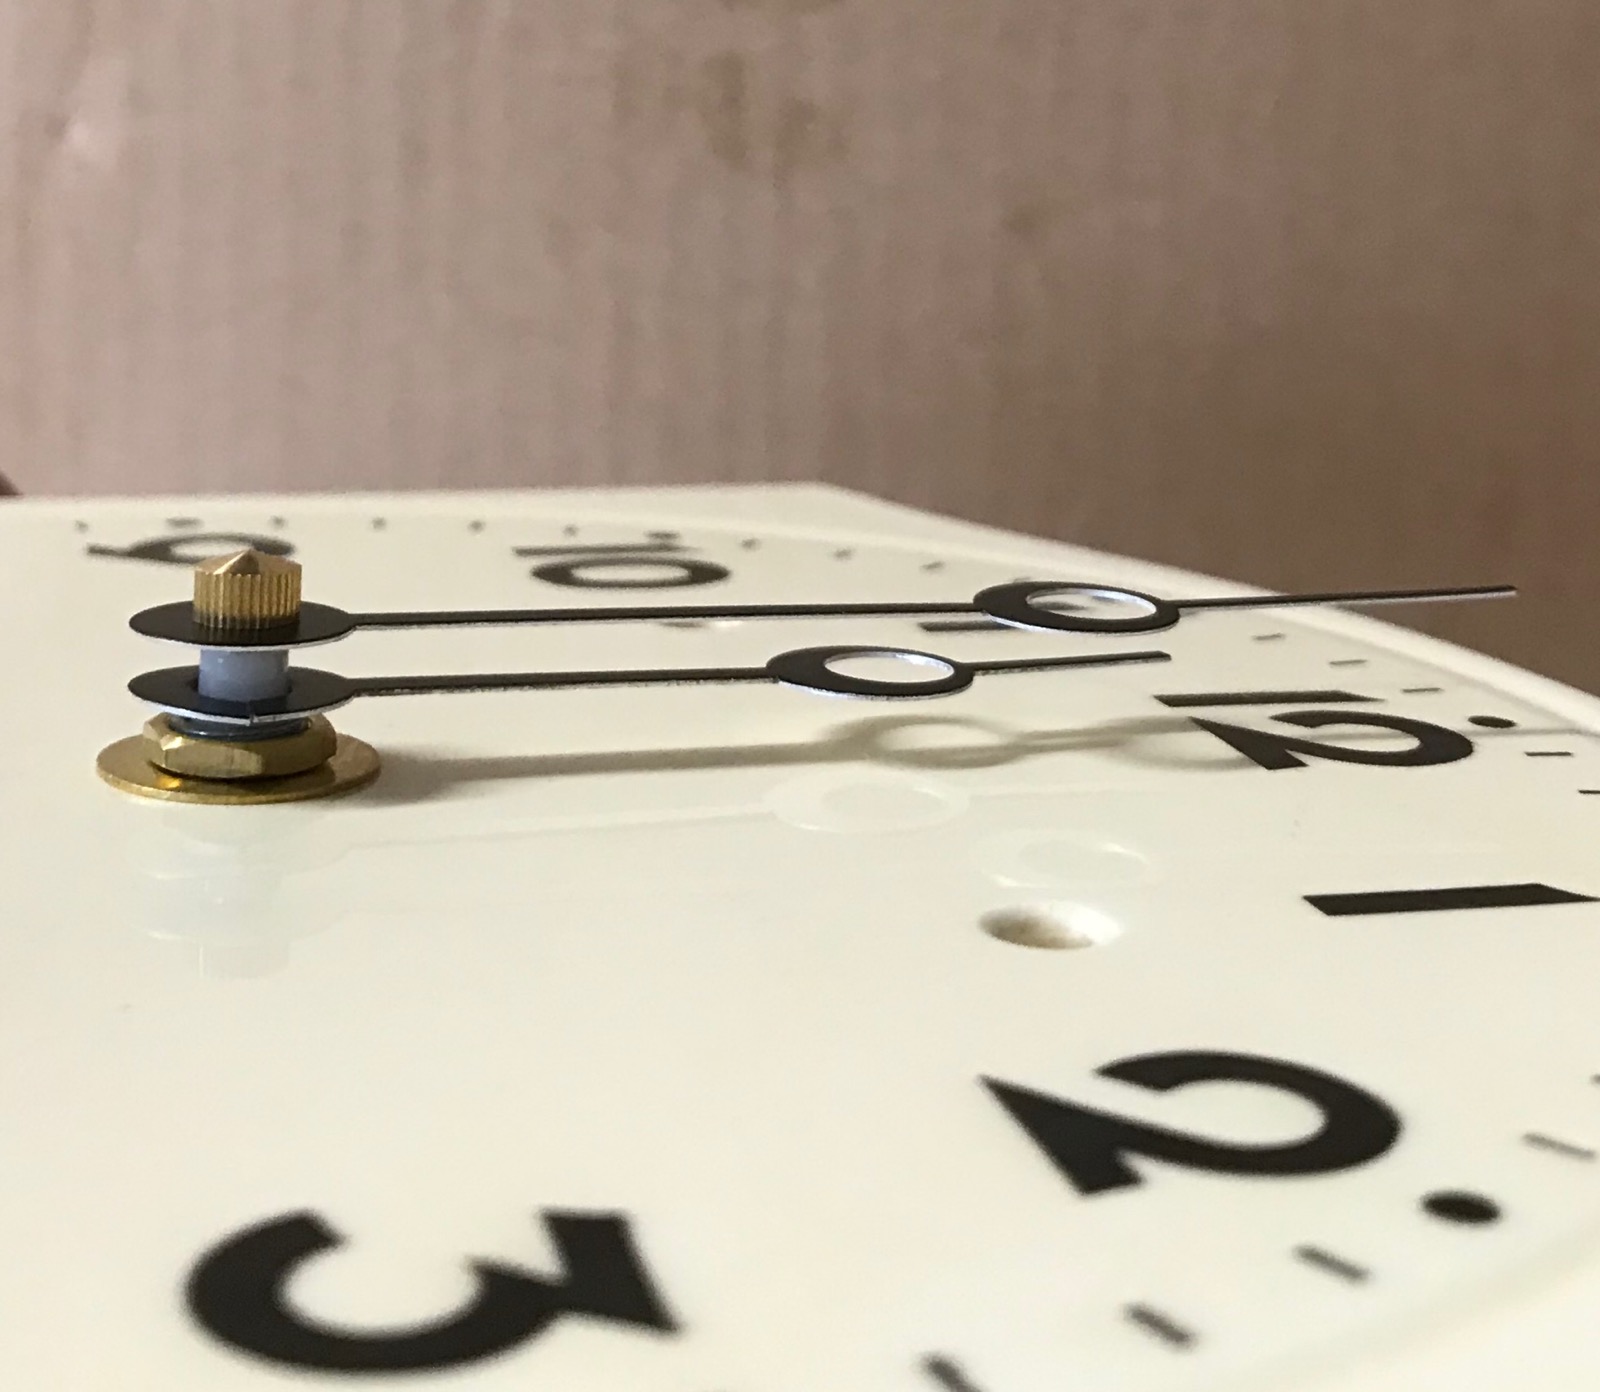
Gently attach the brass washer and hex nut.... gently tighten the hex nut - with your fingers.
Next check the hands' lengths and trim using scissors to the correct size.
The hour hand should stop just below the numbers.
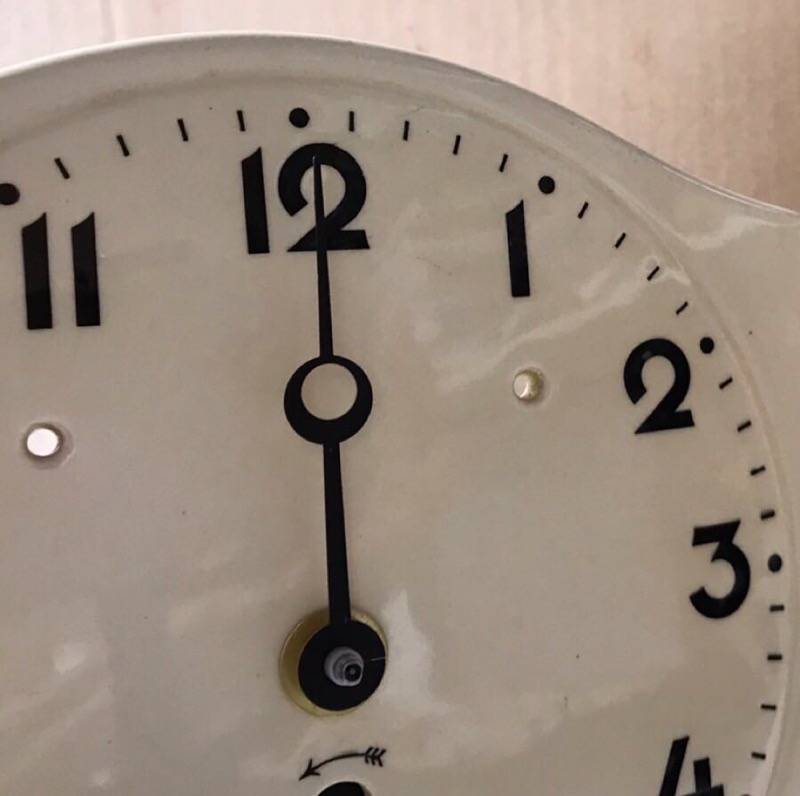
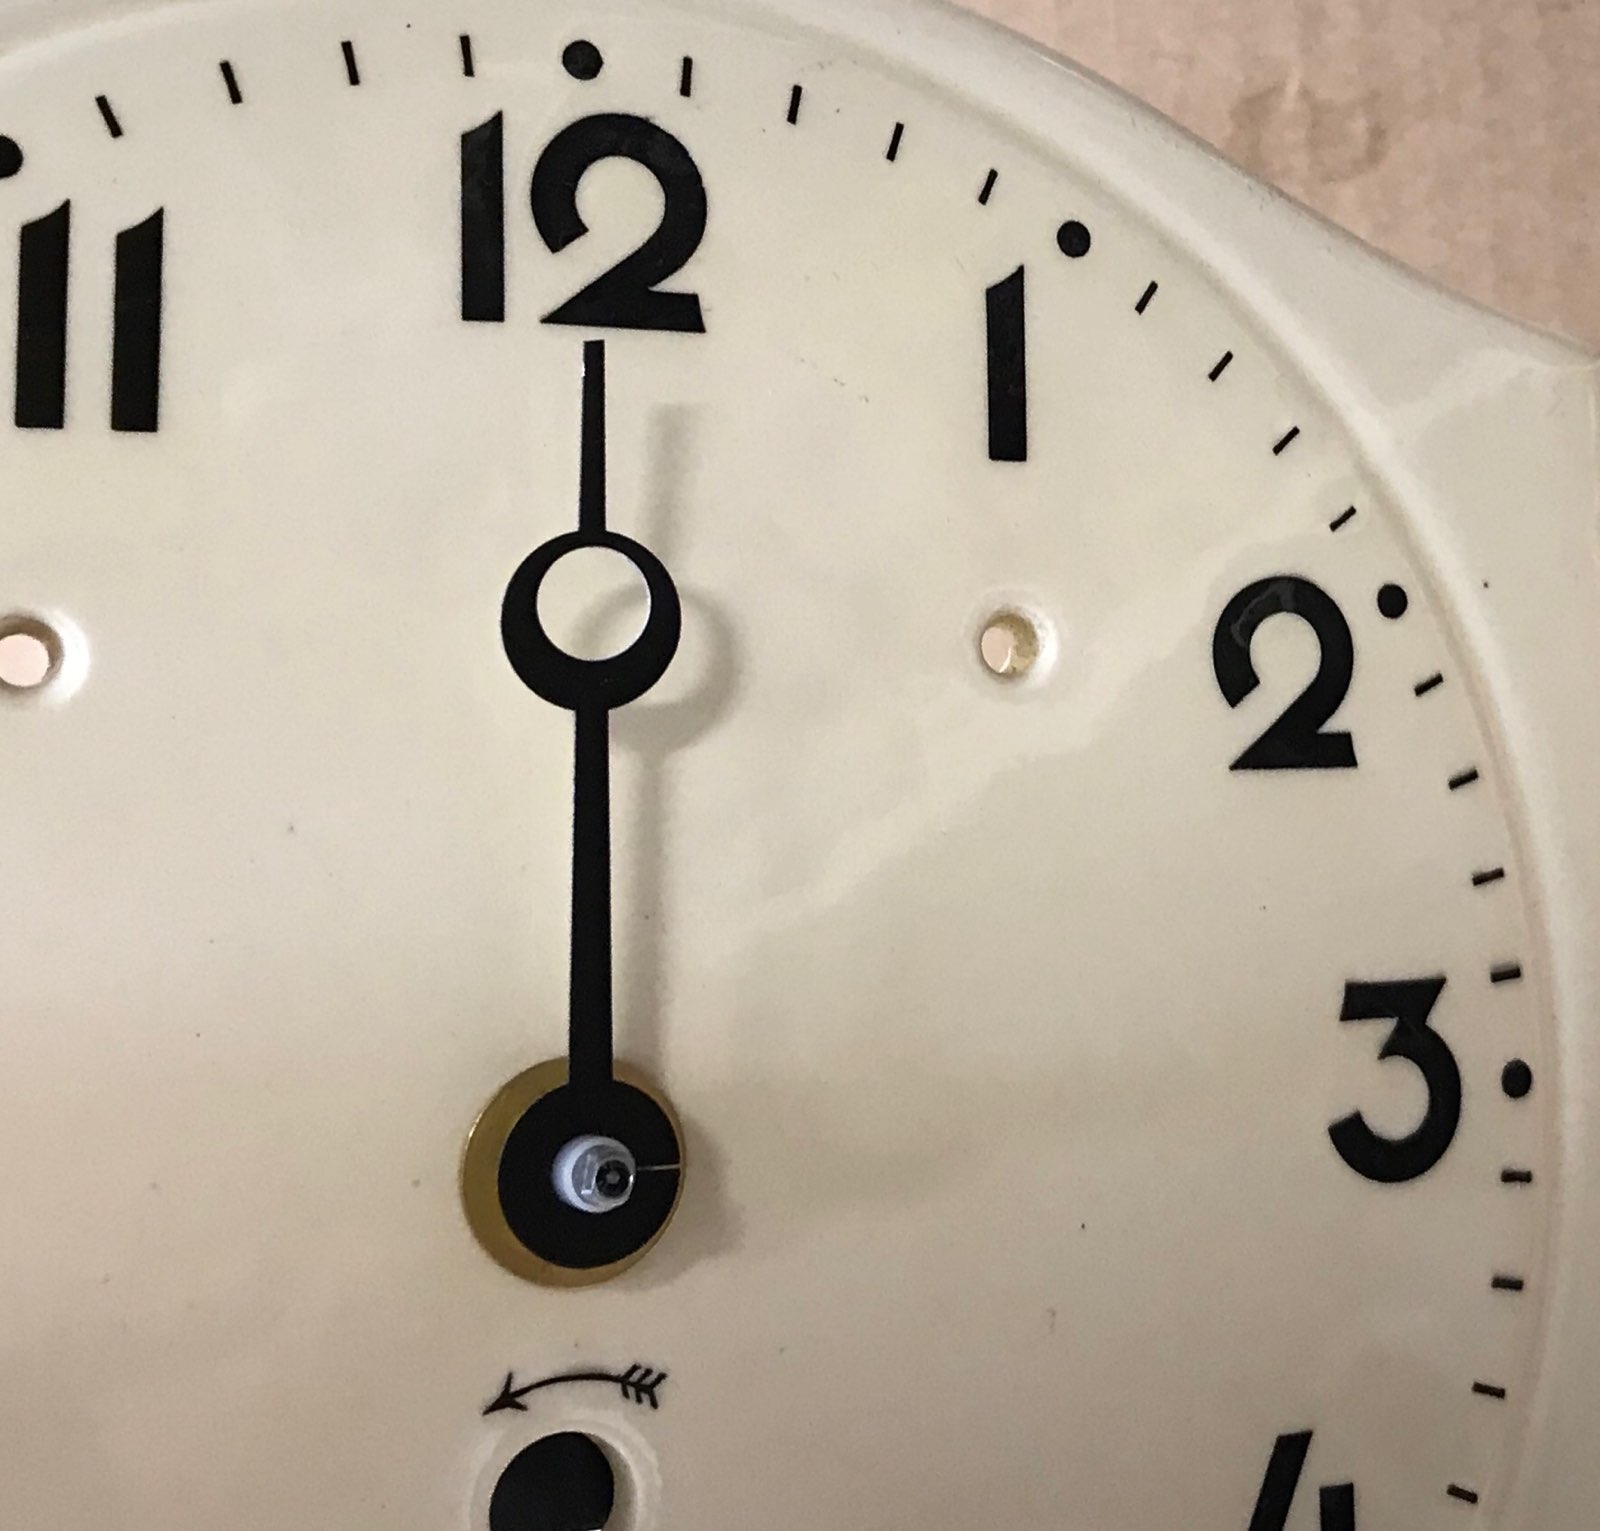
Repeat for the minute hand ensuring that the minute hand does not go beyond the top of the numbers.
Attach the minute and hour hand and tighten the minute hand nut.
Using the clock winder at the back of the movement check that the hands do not touch each other or the clock face
Add a battery and hang the clock on the wall